")


: High-Quality Templates for Creatives")
")


Figma has rapidly become one of the most popular design tools for UI/UX designers, web designers, and digital creatives. Its intuitive interface and powerful features make designing more efficient than ever. However, there are hidden Figma tricks and lesser-known Figma hacks that can save you hours of work if you know how to use them.
Why You Should Know These Figma Hacks
Even experienced designers often overlook some of Figma’s most powerful features. What used to be complicated workarounds in other design tools, like Sketch or Adobe XD, are now built-in, streamlined functionalities in Figma. Knowing these Figma tips can boost productivity, improve workflow, and make design projects run smoothly from start to finish.
Top 10 Figma Tricks for Designers
From efficient layer management to advanced auto-layout techniques, the Figma tricks we’ve gathered are designed to help you:
Save time with shortcuts and hidden features
Organize layers and components more effectively
Improve collaboration with team members
Customize designs faster with reusable styles and components
Take full advantage of Figma plugins
Each tip is a practical Figma hack that can be applied immediately, whether you’re designing web apps, mobile interfaces, or graphic content.
Start Using These Figma Tips Today
By incorporating these 10 Figma tricks into your workflow, you’ll be able to work smarter, not harder. Explore Figma’s powerful features and discover new ways to streamline your design process. Don’t wait—start applying these Figma hacks and see the difference in your projects today!
You May Also Like:
- Finger-Friendly UI Design: How to Create Mobile Interfaces Users Love
- 25 Creative ChatGPT Prompts for Web Designers (Copy & Use Today)
- Scrolling Over Clicks: The Evolution of Modern Web Navigation
1. Easiest circle progression creation you’ve ever done in your life
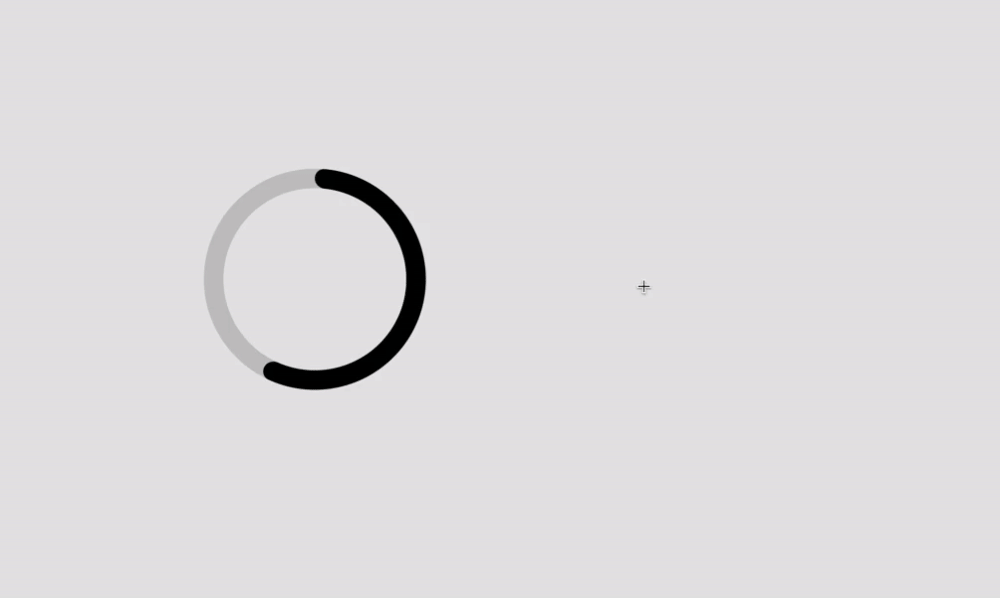
I had no idea about the Arc tool until I accidentally dragged it onto artboard one day, it just blew my mind. It allows you to create simple and beautiful progress bars.
2. Use the zoom tool to avoid distortion

Keep your design perfectly proportioned with the zoom tool – just select the element you want to scale, then press the K key on your keyboard and pull the cursor, voila.
In the past, I always refused to scale a design because something always broke and I had to make adjustments. With the scaling tool, these problems no longer exist – everything scales perfectly and maintains its proportions without the need for tweaking.
3. Drag objects outside the frame by holding them inside the container

Hold down the spacebar while dragging the object outside the frame so that it remains inside the container. You can also disable the “Clip contents” feature for the frame containing the object so that you can still see it when it is outside the container – you can also press CMD (CTRL) + Y to display outlines.
4. Tidy up the grid

Tidy up your projects by clicking the grid icon in the corner after selecting a few objects in the array. This will make all the spacing between objects the same, and then you can drag objects to reposition them and adjust the spacing.
5. Duplicate the last action

Press CMD + D to duplicate the previous action. CMD + D will also duplicate objects, frames, and everything else.
6. Preview the color with a dropper

When using the dropper tool (i), hold down the left mouse button to view how the color of the element changes.
7. CMD + / unlock all objects

The CMD + / key combination has tons of useful quick actions that will help your workflow and save a lot of time. If you’re not already using it, I highly recommend seeing what actions are available in the menu. An action I use often is to quickly unlock all objects and change fonts.
8. Easily insert images inside placeholder shapes

Press CMD + Shift + K to replace the fill of shapes or frames with a bunch of images.
9. Other whitespace techniques

Drag the selection area, and then hold down the spacebar to increase the size of the pointer selection.

If you are drawing a shape, you can also hold down the spacebar to move the object as you create it.

And if that’s not enough, you can hold down the spacebar to prevent Figma from automatically nesting objects inside frames or disable auto-layout. The spacebar is very handy!
10. Content Reel + Unsplash

Content Reel and Unsplash were two indispensable plugins that save time and avoid using “John Doe” as a name for all users. With Content Reel you can insert avatars, lorem ipsum, names, addresses and more into your design with a single click. Unsplash is a free library of high quality graphics.
11. BONUS! Fix line height in a second

If you don’t have a specific line-height value just type “auto” in the line-height field and it will automatically adjust!
Discover more from DesignRise
Subscribe to get the latest posts sent to your email.


